Installation Instructions for Sendgrid
- Upload all Email Plus+ files as per the included instructions.
- Go to "Setup, Addon Modules, Email Plus+" and Activate then add your license key for email plus.
- Log in to your sendgrid account at https://app.sendgrid.com/login.
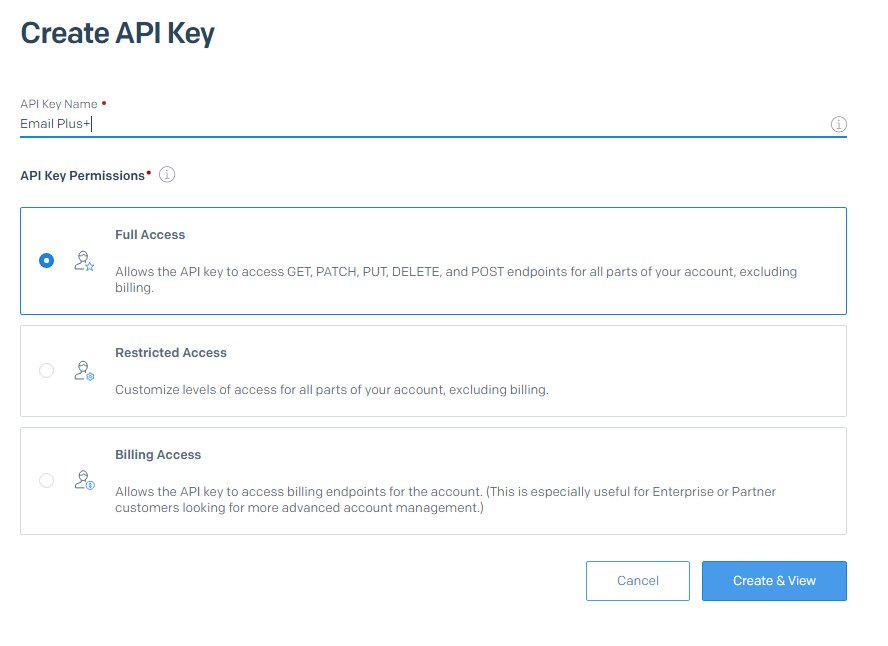
- Click on “Settings, API Keys”. Then click the button “Create API Key”.
- Create a new key by selecting a name, with Full Access. Select the button “Create and View”.
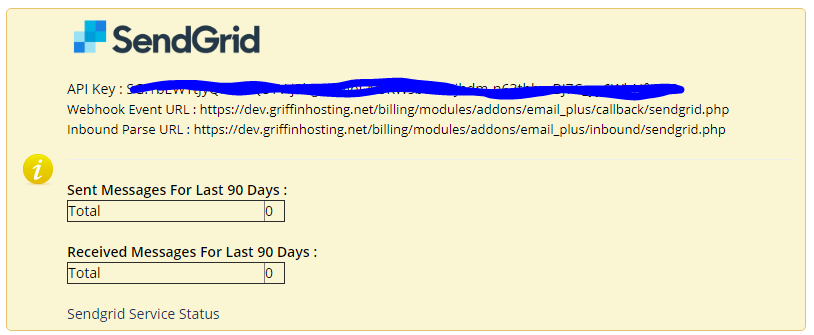
- Copy and paste this API Key into the Addon settings for Sendgrid. (In WHMCS, go to “Settings, Addon Modules, Email Plus+”. Find the Sendgrid API Key box. Click Save).
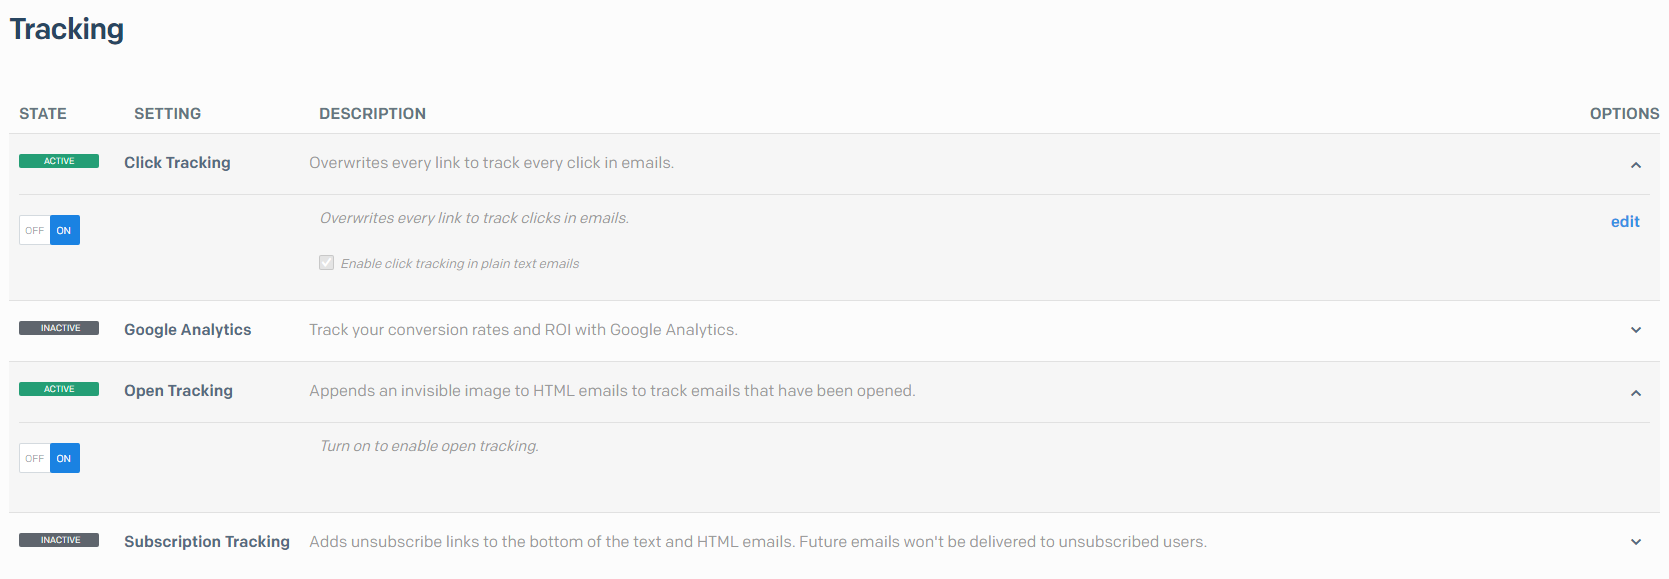
- Next go to your Sendgrid account, and select “Settings, Tracking”. Enable Click and Open tracking (If Desired. Not necessary for sending email.)
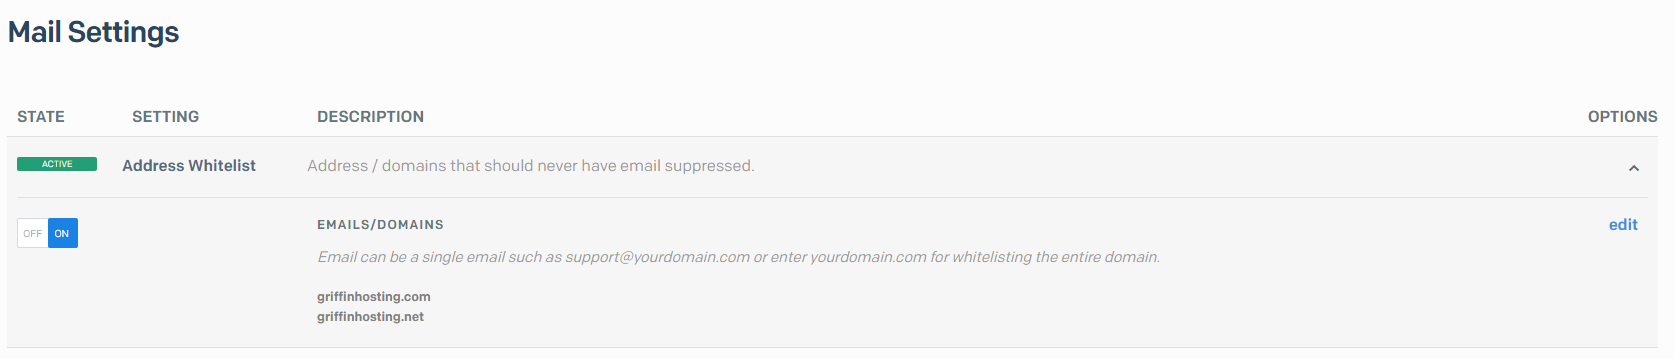
- Next go to your Sendgrid account, and select “Settings, Mail Settings”. Add your email domains to the Whitelist.
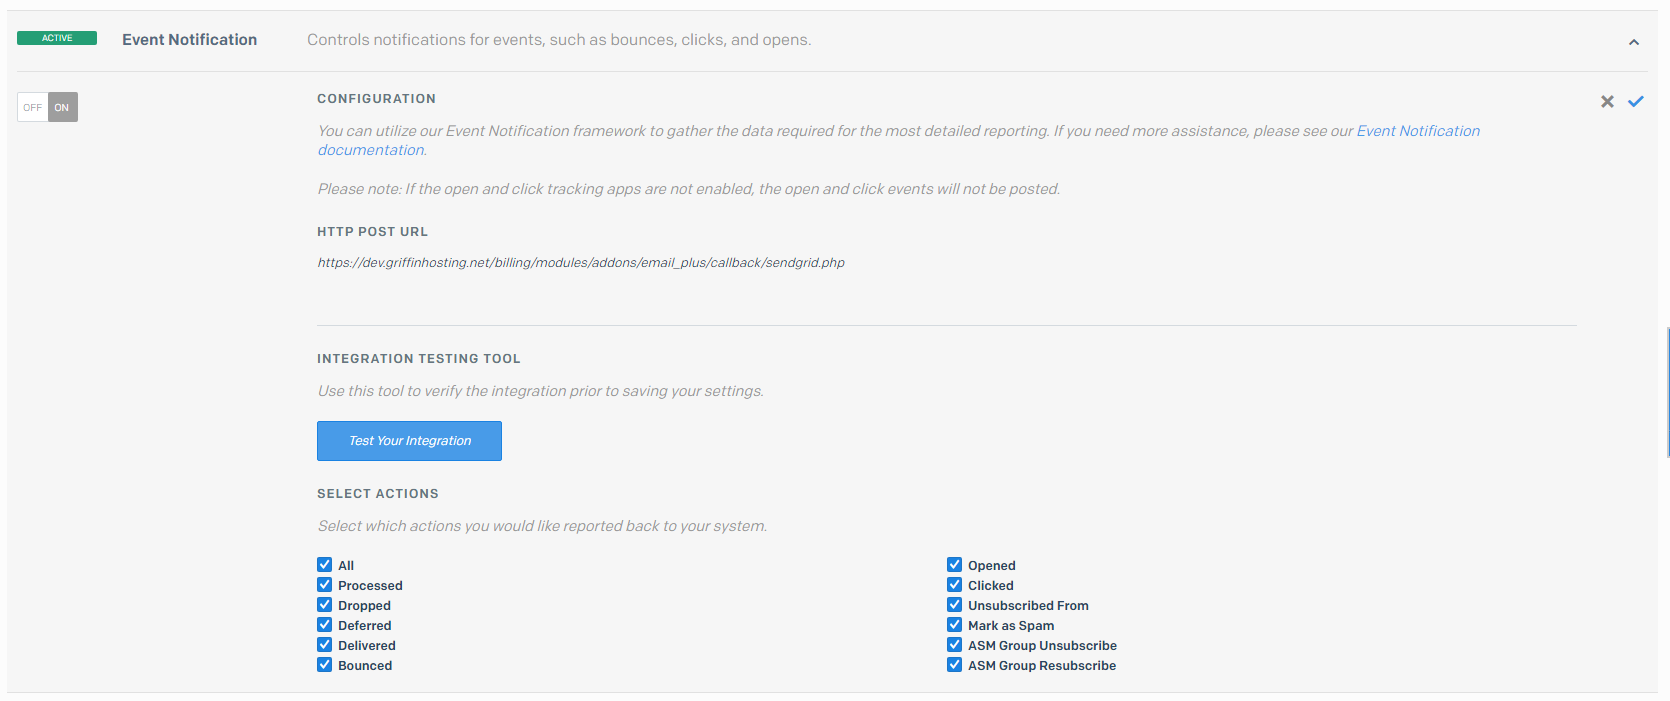
- Next go to your Sendgrid account, and select “Settings, Mail Settings”. Select “Event Notification”. Click on Edit.
- Click the “On” Button, and add the Webhook URL back to your WHMCS site. (The URL to use is shown in your WHMCS system, on the Email Plus+ Addon page.
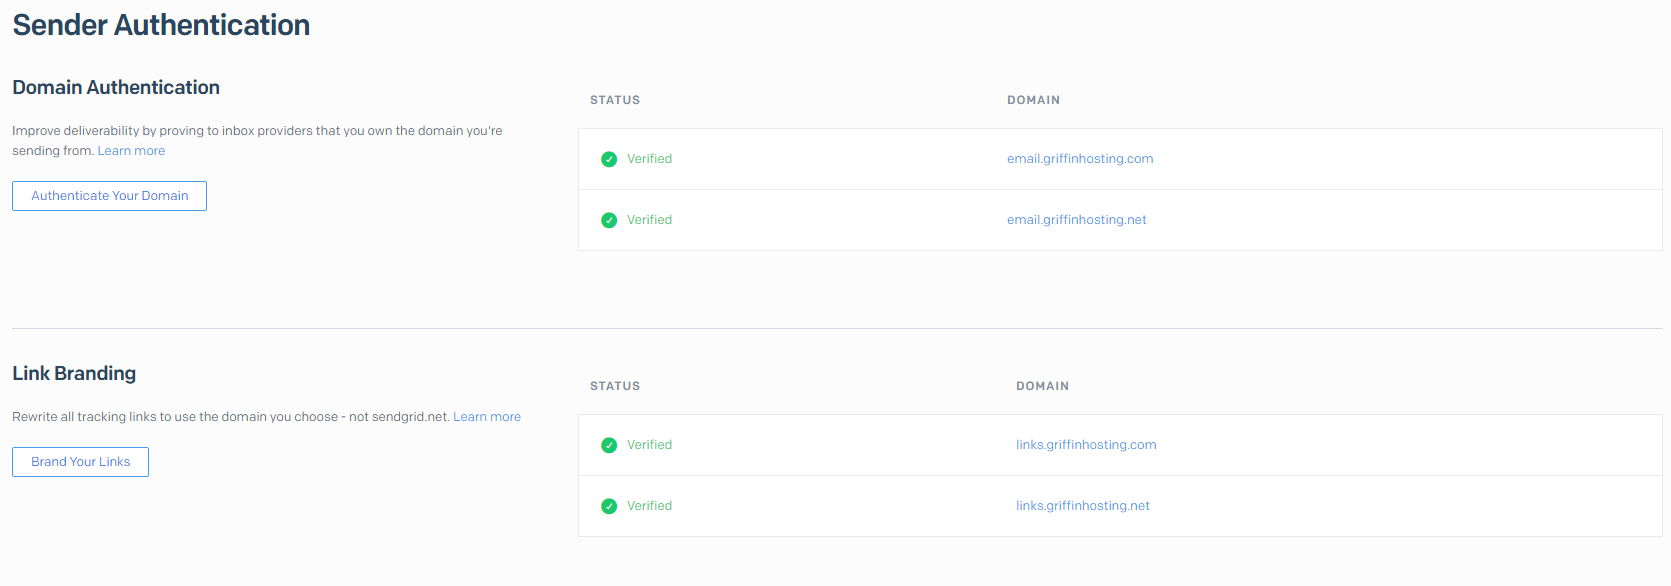
- Next go to your Sendgrid account, and select “Settings, Mail Settings”. Select “Sender Authentication”.
- Add your email domains, and link branding domains. See – https://sendgrid.com/docs/User_Guide/Settings/Sender_authentication/How_to_set_up_domain_authentication.html. Contact Sendgrid for help with this if your are having issues. We are NOT Sendgrid support.
- Make sure your domains are “Verified”. You will not be able to send emails until this has been completed.
- Configuration is now complete. Navigate to “Addons, Email Plus+” in WHMCS and click on the “Diagnostics” tab. Send a test email to yourself through Sendgrid.
- Next, in WHMCS click on the Email Plus+ “Template Configs” tab, and configure your templates to use Sendgrid.
