Setting up SMTP2GO for use with Email Plus+
- Create an account with smtp2go at https://www.smtp2go.com
- Login and select "Settings", "API Keys".
- Click on "Add API Key".
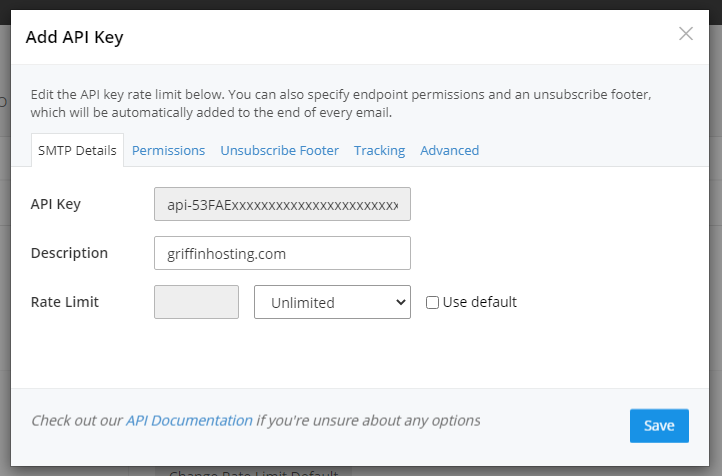
- Enter a Description. Click on "Permissions" and check all boxes. Click on "Tracking" and enable Open Tracking.
- Login to your WHMCS server, and go to "Setup, Addon Modules, Email Plus+".
- Enter the API key just created for smtp2go.
- Go to smtp2go website, Next select "Settings", "Webhooks".
- Click on "Add new webhook".
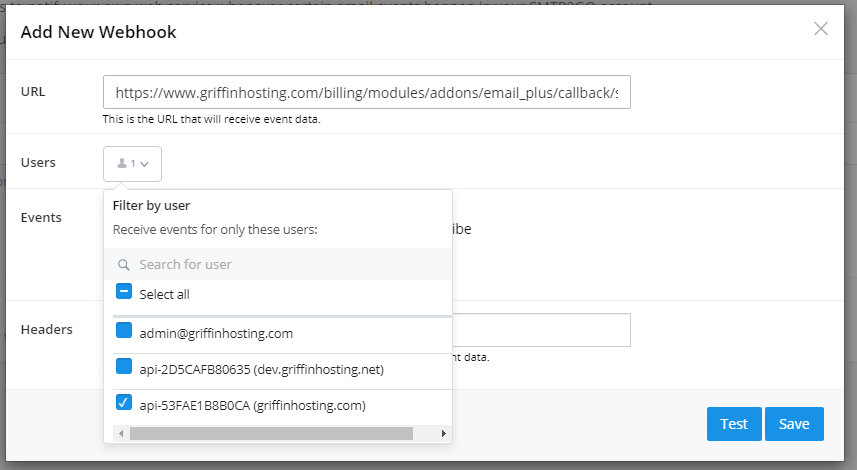
- Enter the URL back to your WHMCS site. (The exact URL can be found in your WHMCS by going to "Addons, Email Plus+, Home". Find the info box for smtp2go.
- Select the API user just created above. Uncheck all others.
- Select ALL events.
- Click "test", then "Save". (Check for any errors from test).
- Go back to "Settings", "Sender Domains".
- Enter your domain used for sending emails from WHMCS. Select "Add Domain".
- Configure your DNS records as provided by smtp2go. (You will not be able to send emails until this is completed, and verified).

- Click on "Verify". (Note - This may take a few hours to verify successfully).
- Go to Email Plus+ addon, and select "Diagnostics" tab. Verify no errors, and send a test email to yourself through smtp2go.
- Go to Email Plus+ addon, and select "Template Configs". Enable templates to use smtp2go. Complete!
